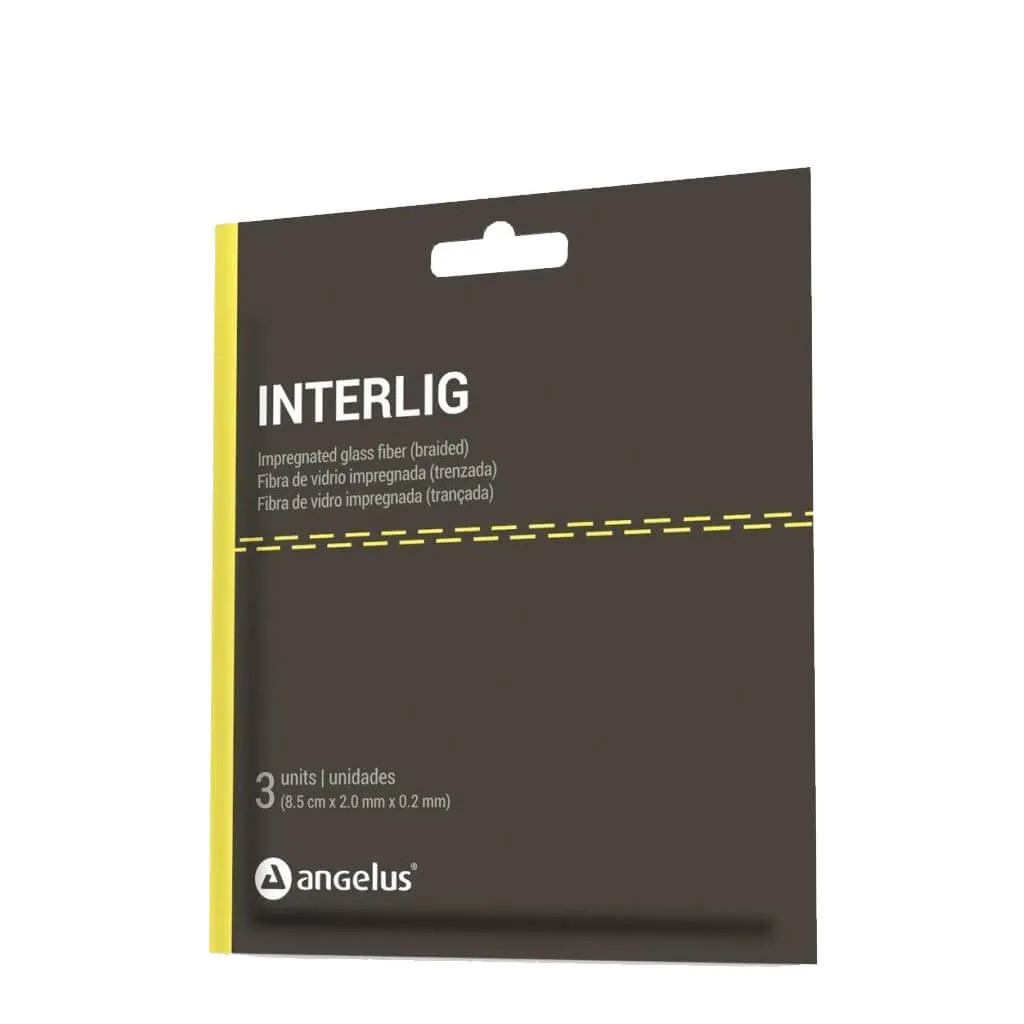
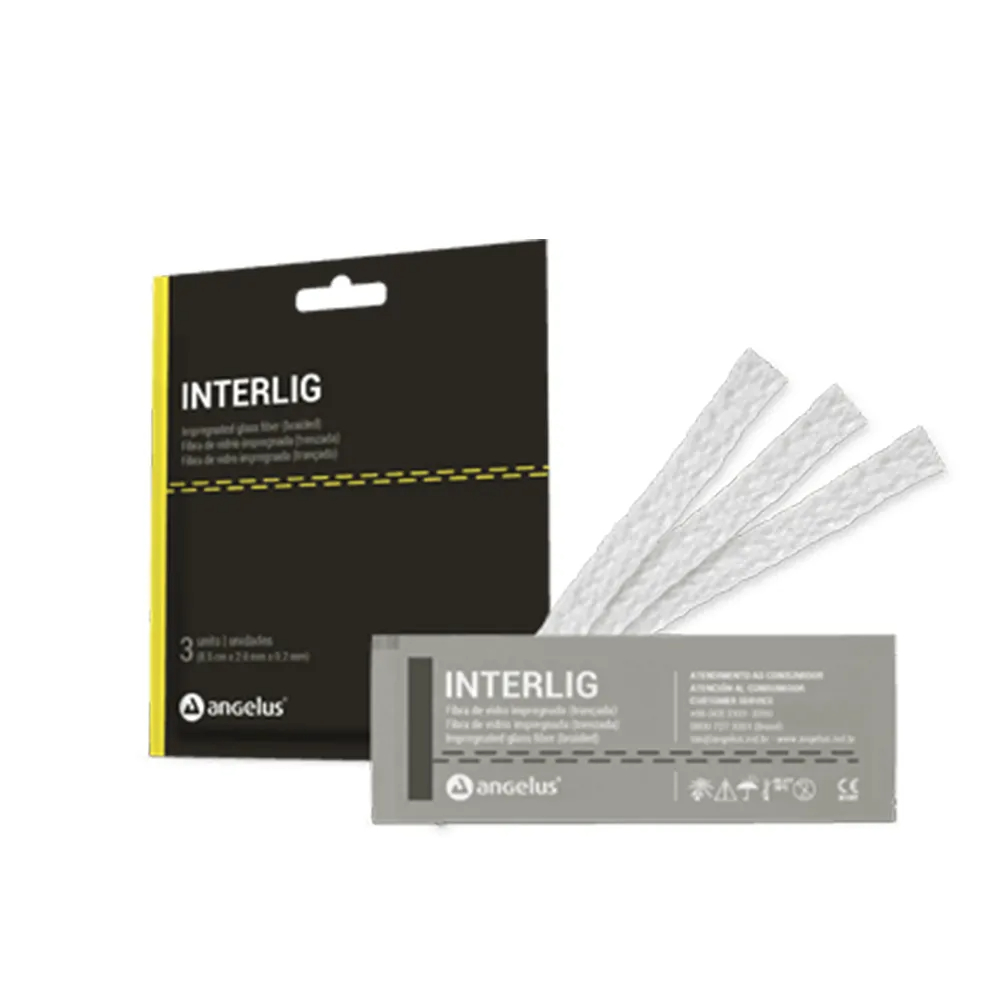
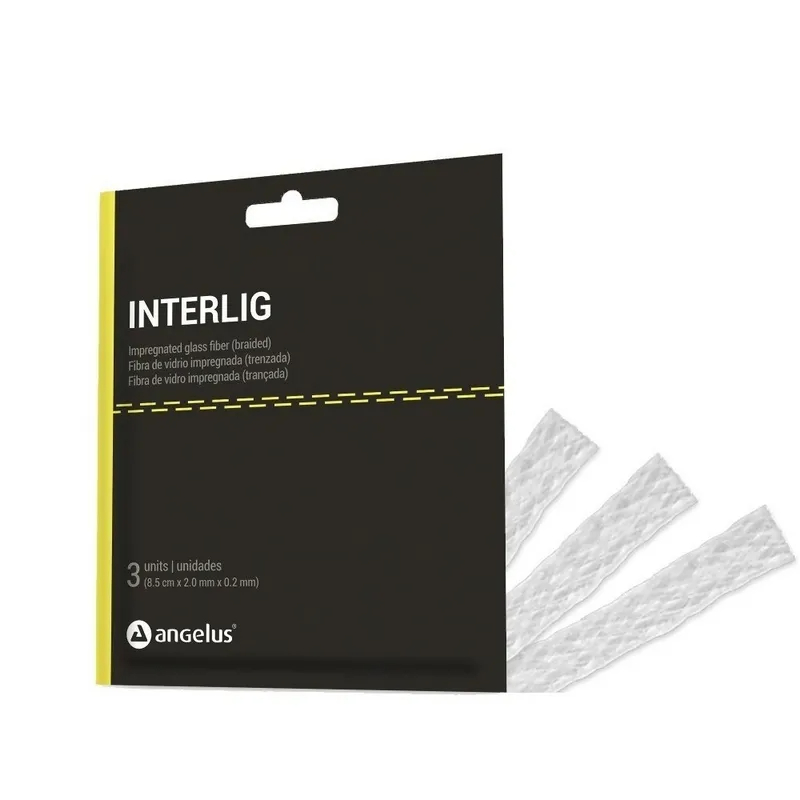
Angelus Interlig Single Patient Strip
A solution to immediate prostheses and splitting in Periodontics
₹1180.00₹1500.00 (-21%)
Benefits

Brand warranty

Secure payments

upto 7 days returnable

Long expiry

EMI
Description
Angelus Interlig
Braided glass fiber impregnated with light-cured composite resin
- Splinting in Periodontics, Orthodontics, and of avulsed or extracted
- Reinforcement of resin-retained fixed bridges (with natural or artificial teeth) and temporarily fixed bridges made directly (in the dental office) or indirectly (in the lab)
- Reinforcement and repair of acrylic resin
- Fabrication of space retainers in pediatric dentistry
Specification
Additional information
| Weight | 0.1 kg |
|---|---|
| Brands |
Features
Features
- Easy to cut: special scissors are not required.
- Pre-impregnated (ready to use): saves time and material.
- Glass fiber: high flexural strength.
- Malleable fiber: easy to adapt.
- Packed in sachets: easy handling: protects fibers from light and heat.
Packaging
Packaging
- 1 x Fiber (3.5 cm long)
Direction to Use
Direction to Use
TECHNIQUE FOR USE -:
A. PERIODONTAL SPLINT
- Pre-op;
- Isolate with a rubber dam (ideally) and place wedges interproximally to help controlling the flow of resin in these areas;
- With a pencil, delineate the area for cutting a groove; (Cutting a groove is an optional procedure that depends on the clinical situation).
- Make a 0.8 mm deep x 2.0 mm wide groove;
- Etch with 37% phosphoric acid for 30 seconds; wash and dry (areas of exposed dentin should not be desiccated);
- Apply the adhesive FUSION-DURALINK system (same procedures used for direct composite resin restorations);
- Light-cure all segments of the splint site for 20 seconds each;
- Fill half of the groove with a hybrid or micro hybrid composite resin (microfil resins should not be used in splinting);
- Cut a section of INTERLIG slightly shorter than the length of the groove; position INTERLIG® in the groove and press it towards the composite resin;
- Gently pressing, light-cure each segment of the splint for 20 seconds; curing of non-pressed areas should be avoided by covering them with an aluminum foil;
- Apply a second layer of composite resin to cover the groove totally; the resin must also be placed slightly beyond the limits of the groove;
- Light-cure each segment for 40 seconds;
- Remove the excess of resin, check the occlusion, and adjust it if necessary; proceed with finishing and polishing;
- Apply a final layer of fluid resin (adhesive) to fill any irregularity or superficial bubbles and voids; light-cure all segments for 20 seconds each;
B. DIRECT FIXED BRIDGE
- Pre-op;
- Mark the site where the root will be cut after the extraction;
- Area after tooth removal;
- Cut the root 1 to 2 mm apically to the mark considering soft tissue shrinkage during the healing process; shaping and polishing of the apical end of the tooth should produce a pontic-like, smooth, and ovate design;
- Open the canal through the root, remove all pulpal tissue and fill the canal with composite resin (phosphoric acid and an adhesive system must be used);
- Isolate with a rubber dam and cut a groove (0.8 mm deep x 2.0 mm wide) on the abutment teeth and on the extracted tooth;
- Fix the extracted tooth on the desired site with a small amount of composite resin placed facially; do not acid-etch now because this composite resin will be removed later; light-cure the resin;
- Acid-etch (37% phosphoric acid) for 30 seconds; wash and dry without desiccating any exposed dentin;
- Apply the adhesive FUSION-DURALINK system, wait for 20 seconds, and remove the excess of bonding agent with a light stream of air; light-cure each segment for 20 seconds;
- Apply a layer of a hybrid or micro hybrid composite resin filling half of the groove;
- Measure and cut INTERLIG® with a scalpel or scissors in a slightly shorter size than the groove to facilitate insertion;
- Place INTERLIG in the groove, press it, and light-cure each segment for 40 seconds; curing of non-pressed areas should be avoided by covering them with an aluminum foil;
- Apply a new layer of composite resin to cover INTERLIG completely and fill the groove; the resin must be placed a little beyond the limits of the groove; light-cure for 40 seconds;
- Remove excess resin, check the occlusion, and adjust it if necessary; proceed with finishing and polishing; apply a layer of fluid resin (adhesive) to fill any irregularity or superficial bubbles and voids; light-cure all segments for 20 seconds each;
- Final result.
C. INDIRECT FIXED BRIDGE (FABRICATED ON A WORKING CAST)
- In the mouth, prepare a groove (0.8 mm deep x 0 mm wide) on the abutment teeth and take the impression;
- On the working cast, paint the groove and its adjacent areas with a thin layer of a release agent;
- To be used as a pontic, select an acrylic resin denture tooth or make a tooth with a porcelain or composite resin;
- Apply the adhesive FUSION-DURALINK system and light-cure for 20 seconds;
- Insert a layer of light-cured hybrid or micro hybrid composite resin to fill half of the groove; do not cure;
- Measure and cut INTERLIG with a scalpel or scissors in a slightly shorter size than the groove to facilitate insertion; place INTERLIG in the groove;
- Press it and light-cure each segment for 40 seconds; curing of non-pressed areas should be avoided by covering them with an aluminum foil;
- Apply a new layer of composite resin to cover INTERLIG completely and fill the groove; light-cure for 40 seconds;
- With carbide burs or discs, trim the stone to release the bridge; the restoration should not be forced out of the working cast to avoid the risk of fracturing the connections; proceed with the final adjustments and polishing;
- Bridge ready; it must be cemented with an adhesive technique (adhesive system and a composite resin or resin cement).
D. REINFORCEMENT OF TEMPORARY ACRYLIC RESIN BRIDGES
- Cut an 8 mm deep x 2.0 mm wide lingual groove on the bridge;
- Apply the adhesive FUSION-DURALINK system on the groove and light-cure for 20 seconds;
- Measure and cut INTERLIG with a scalpel or scissors in a slightly shorter size than the groove to facilitate insertion;
- Insert a layer of light-cured hybrid or micro hybrid composite resin to fill half of the groove; do not cure;
- Place INTERLIG in the groove;
- Press it and light-cure each segment for 40 seconds; curing of non-pressed areas should be avoided by covering them with an aluminum foil;
- Apply a new layer of composite resin to cover INTERLIG completely and fill the groove; light-cure each segment for 40 seconds;
- Proceed with the final adjustments and polishing;
- Final result.
PRECAUTIONS -:
- The components of INTERLIG may be allergenic. Avoid contact with oral tissues, skin & eyes. Use gloves, mask & eye protection. If accidental contact occurs, wash with water. If necessary, seek medical attention.
- Keep it in a dry, cool place (below 28°C/ 82.4°F), protected from light, eugenol products, and excessive heat (furnaces, sterilizers).
- Put the remaining fiber in the package immediately after use to avoid excessive exposure to environmental light.
WARNINGS -:
- INTERLIG®must always be covered by the composite resin; any exposed fiber should be gently removed with burs and the area corrected with a new layer of composite
- Structures reinforced with INTERLIG®should not create occlusal interferences; always check
- Harmful habits (grinding, clenching, biting objects) should be corrected before indicating restorations reinforced with INTERLIG®.
FAQs
FAQs
What are the indications of interlig?
Periodontal splints.
Splinting of traumatized teeth.
Fabrication of direct and indirect adhesive temporary prostheses.
How should interlig be prepared before use?
Interlig is already resin-impregnated and silanated.
What the advantage of the industrial resin impregnation of interlig?
The pre-impregnated fiber is ten times more resistant than fibers that are not
impregnated during their fabrication. For a complete absorption of the resin by the
fiber, besides the appropriate volume of resin, a period above 24 hours is required
for silane treatment and immersion in resin.

Reviews
There are no reviews yet.