GDC Impression Trays Adjustable (ITRLDPA)
Adjustable impression trays for taking impressions
₹320.00₹400.00 (-20%)
Benefits

Brand warranty

Secure payments

upto 7 days returnable

Long expiry

EMI
Description
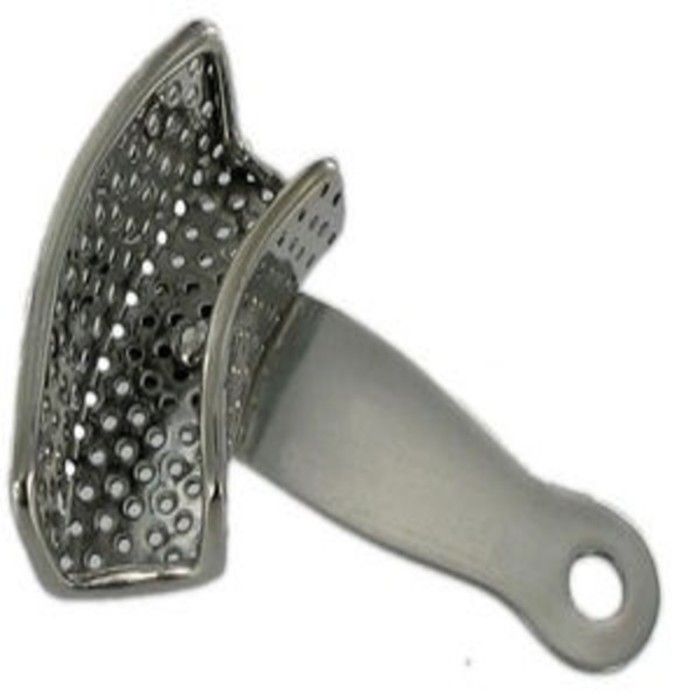
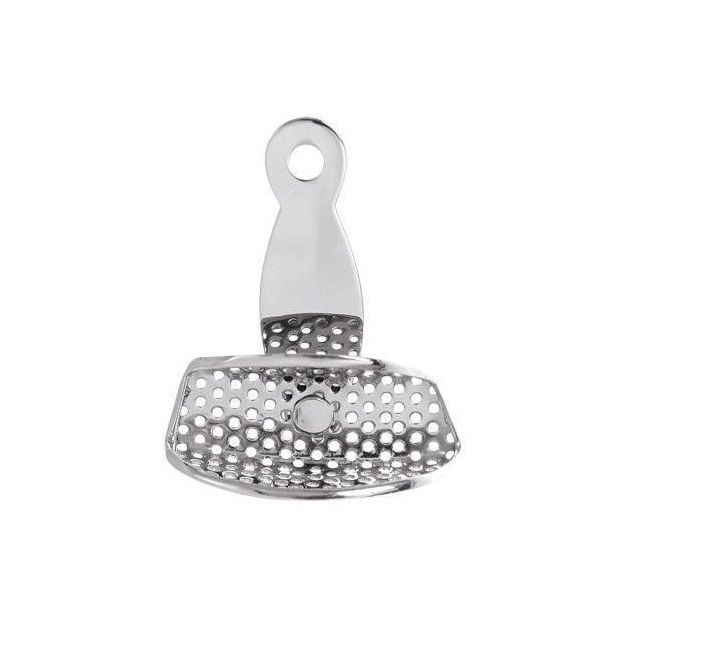
Dental Impression tray Dentulous Perforated is used to take a negative imprint of hard (teeth) and soft tissues in the mouth from which a positive reproduction (cast or model) can be formed. Impression material is of liquid or semi-solid nature when first mixed and placed in the mouth.
It then sets to become an elastic solid (usually takes a few minutes depending upon the material), leaving an imprint of a person’s dentition and
surrounding structures of the oral cavity.
Impression trays are used to hold the impression material, allowing the operator to place it into the patients’ mouth.
They may be perforated for better retention of the impression material.
The impression tray is adjustable
Intended for dental clinical treatment and prevention
Suitable for both steam and chemical autoclave
INDICATIONS:
For taking impressions in Removable Partial Denture & Fixed Partial Denture Cases.
In implant cases for case evaluation”
Specification
Additional information
| Weight | 0.1 kg |
|---|
Packaging
Packaging
Directions to use
Directions to use
Step 1
The patient’s oral cavity should be free of debris prior to taking alginate impressions
Step 2
Pass the operator the impression tray (maxillary or mandibular) for try-in (if needed, add impression compound to alter or extend the impression tray)
Step 3:Ensuring to not cross-contaminate the bottle, use a disposable applicator brush to apply tray adhesive to the impression tray if indicated (it is best practice to dispense some adhesive and then use a disposable brush to apply over the impression tray to avoid contamination)
Ensure that tray adhesive is painted on the rim area of the impression tray as well as the body
Step 4:Fluff the alginate in the jar and dispense the alginate powder using the measuring scoop provided by the manufacturer (overfill the scoop from jar and level using a disposable tongue depressor or a sterilised fish tailed spatula)
The size of the selected impression tray will dictate the amount of material to be dispensed
Step 5:Using the water measure supplied by the manufacturer, measure out the water needed (this corresponds to the amount of powder dispensed)
The ideal temperature for the water is 21°C
Step 6:Communicate with the dentist when the mixing should commence and add the powder and water
Mix the powder and water with a stirring motion, using the tip of the spatula
Turn the bowl on its side in the palm of your hand and rotate the bowl, continuing to mix the material with the wide part of the spatula blade until a homogenous mixture is achieved
Step 7:Gather the alginate in the bowl and using the blade of the spatula, pick up the material to load the impression tray
Step 8:Load the impression tray using the spatula
The mandibular tray is loaded from the lingual using an overlapping technique to ensure the tray is completely filled
The maxillary tray is filled from the posterior region and material is continuously added with pressure until the tray is full
Extra impression material may be required for the operator to manually insert in the event that a patient has a high palate
Leave some excess material on the back of your gloved hand – this is used to check if the material is set after placement in the oral cavity
Step 9:Once the impression tray is filled, hand the tray to the operator extending the tray handle first
Step 10:Remove excess material from the spatula and flexible mixing bowl and dispose of in the contaminated waste bin
Features
Features
- It has a unique appearance design and fluent outline.
- With a people-friendly design, easy for operation.
- With the best quality, easier for cleaning.
- Premium quality impression trays
- Used to hold impression material
- Have a handle for better grasp during placement and removal


Reviews
There are no reviews yet.